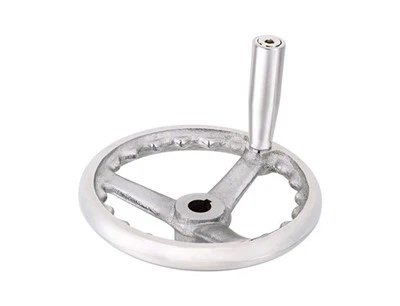
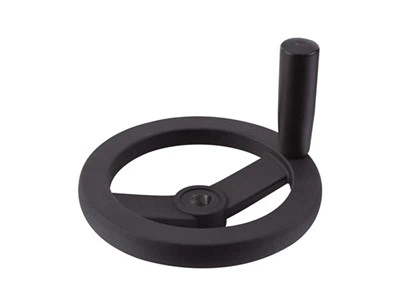
The steps for installing and securing a handwheel are as follows:
- Prepare Tools and Materials: Make sure you have a screwdriver or wrench, screws, a handwheel, a mounting base or bracket, and the installation guide.
- Select a Mounting Location: Based on the type of equipment and usage, determine the optimal mounting location for the handwheel, ensuring it will not interfere with normal operation.
- Install the Base or Bracket: Secure the mounting base or bracket in the selected location and tighten the screws with a screwdriver or wrench to ensure a secure fit.
- Install the Handwheel: Place the handwheel on the mounting base or bracket, ensuring that the handwheel is aligned with the base. The bottom of the handwheel typically has holes or grooves that align with the base.
- Secure the Handwheel: Secure the handwheel to the base or bracket using appropriate screws or nuts. Ensure the screws or nuts are properly tightened to prevent the handwheel from loosening.
- Inspect and Test: Carefully inspect the installation for security, then test the handwheel to ensure it rotates smoothly and shows no signs of instability or wobbling.
Following these steps will generally ensure your handwheel is securely installed and functioning properly. Specific details may vary depending on the equipment and handwheel type.