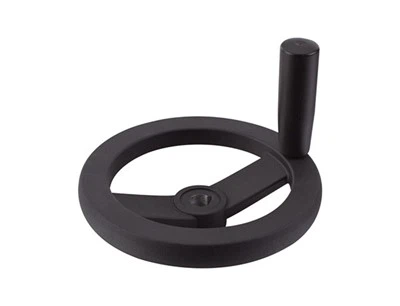
Hey everyone! I'm working as a handwheel supplier, and I often get asked how to calibrate a handwheel. It's a crucial process that directly affects the accuracy and performance of the equipment it's installed on. So, in this blog post, I'm going to walk you through the steps of handwheel calibration.
First off, let's understand why calibration matters. A well - calibrated handwheel ensures that the movement it controls is precise. Whether it's in a manufacturing machine, a medical device, or a piece of laboratory equipment, any inaccuracies in handwheel calibration can lead to faulty products or incorrect experimental results.
Before we start, gather the necessary tools. You'll typically need a precision measuring instrument like a micrometer or a caliper, depending on the type of handwheel. Also, have a clean, stable workbench where you can perform the calibration without any interference.
Understanding the Different Types of Handwheels
There are several types of handwheels out there, each with its own calibration requirements. For example, Indicator Handwheels are designed to provide a visual indication of the amount of rotation. These handwheels usually have a scale or a digital readout, and calibrating them involves ensuring that the indicated values match the actual movement.
3 Spoke Handwheel is another common type. These are often used in applications where you need a good grip and some level of torque. Their calibration focuses more on the smoothness of rotation and the accuracy of positioning.
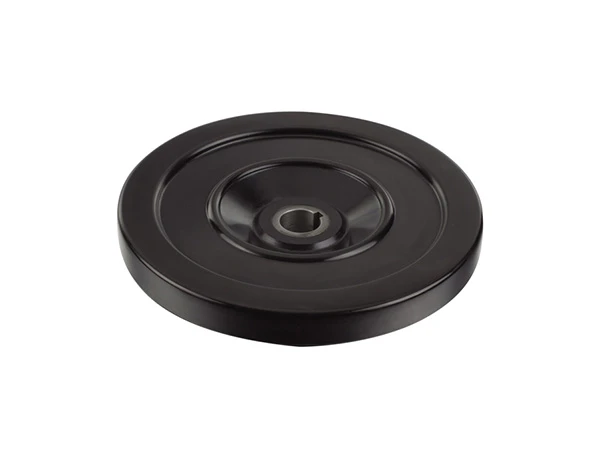
Then, we have Solid Handwheels. These are known for their durability and are often used in heavy - duty applications. Calibrating solid handwheels is about ensuring that they turn evenly and that the movement they control is consistent.
Step 1: Initial Inspection
Before you start the actual calibration, give the handwheel a thorough inspection. Check for any visible signs of damage, such as cracks, worn - out parts, or loose connections. If there are any issues, it's best to replace the damaged parts before proceeding. A damaged handwheel won't be able to be calibrated accurately, and using it in this state can cause further problems down the line.
Also, make sure the handwheel is properly installed on the equipment. It should be firmly attached and centered. If it's off - center, it can cause uneven rotation and inaccurate readings.
Step 2: Zeroing the Handwheel
The next step is to zero the handwheel. This is a crucial step as it sets the baseline for all subsequent measurements. For handwheels with a scale, turn the handwheel until the pointer or the digital display reads zero. If it doesn't read zero, you may need to adjust the zero - setting mechanism. This could involve loosening a screw and re - aligning the pointer or resetting the digital display according to the manufacturer's instructions.
Step 3: Measuring the Movement
Now, it's time to measure the movement of the handwheel. Use your precision measuring instrument to check the distance or angle that the handwheel moves for a certain number of rotations. For example, if you turn the handwheel one full rotation, measure how much the connected component moves. Compare this measurement with the specifications provided by the handwheel's manufacturer.
If the measured movement doesn't match the specifications, you'll need to make adjustments. This could involve tightening or loosening the gears, belts, or other mechanical components that connect the handwheel to the moving part. Make small adjustments at a time and re - measure after each adjustment until you get the desired accuracy.
Step 4: Checking for Backlash
Backlash is the amount of play or free movement in the handwheel before it starts to move the connected component. It can cause inaccuracies in positioning. To check for backlash, slowly rotate the handwheel in one direction until it starts to move the component. Then, reverse the rotation and note the amount of movement before the component starts to move in the opposite direction.

If there's too much backlash, you may need to adjust the clearance between the gears or other moving parts. This might involve shimming or replacing worn - out parts.
Step 5: Final Verification
Once you've made all the necessary adjustments, perform a final verification. Turn the handwheel through its full range of motion several times and take multiple measurements at different points. Make sure that the movement is consistent and that the readings are accurate within an acceptable tolerance.
If you're satisfied with the calibration, clean the handwheel and the surrounding area. Apply a light lubricant to the moving parts to ensure smooth operation in the future.
Tips for Successful Calibration
- Always follow the manufacturer's instructions. Different handwheels may have specific calibration procedures, and deviating from them can lead to inaccurate results.
- Keep your measuring instruments clean and calibrated. Using inaccurate measuring tools will give you false readings and make the calibration process ineffective.
- Be patient and take your time. Calibration is a precise process, and rushing through it can lead to mistakes.
Why Choose Our Handwheels?
As a handwheel supplier, we offer a wide range of high - quality handwheels that are designed for easy calibration. Our products are made from top - notch materials, ensuring durability and long - term performance. We also provide detailed documentation and support to help you with the calibration process.
If you're in the market for handwheels or need more information about calibration, don't hesitate to reach out. We're here to assist you in finding the perfect handwheel for your application and ensuring that it's calibrated correctly. Whether you need Indicator Handwheels, 3 Spoke Handwheel, or Solid Handwheels, we've got you covered. Contact us for a purchase negotiation, and let's work together to meet your handwheel needs.
References
- General knowledge about handwheels from industry experience.
- Manufacturer's manuals and documentation related to handwheels.